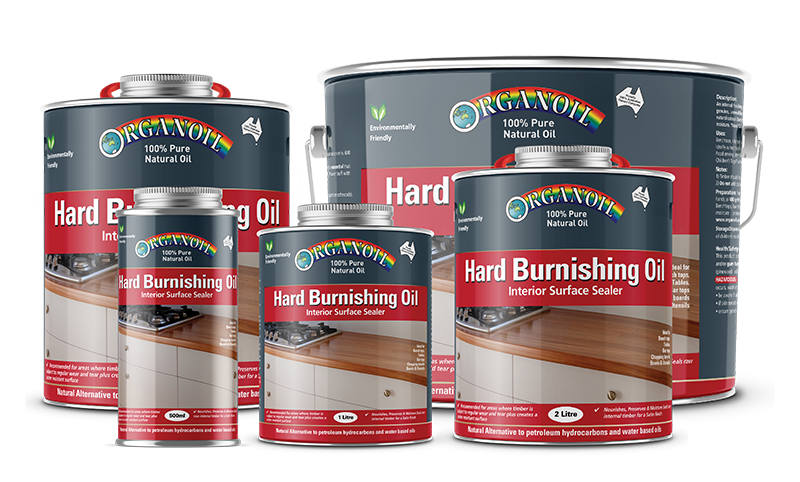
ORGANOIL products are 100% oil in the can, therefore in most instances 2 COATS ONLY are required unless otherwise specified. The addition of more coats of oil will not improve the lustre (shine) and may in many cases result in a dull and patchy appearance. Should your project exhibit the above finish it will be because oil has been added through the polishing procedure thereby continuing to wash out the slurry filler and also the surface of the timber will be too wet when using the polishing grit papers (1200, 1500, 2000). Therefore, there will not be enough heat generated to glaze the oil at the timber surface.
STEP 1 Re-sand timber surface to 220 grit paper to breakdown excess oil at the surface. Should the paper face become clogged renew paper.
STEP 2 Move to 320/400 grit (power disc) or hand sand to 600 grit Wet and Dry paper, continue sanding until timber surface is smooth all over. Should the paper face clog with old slurry, clean down with oil dampened cloth.
STEP 3 Apply a coating of oil to timber surface allowing time to penetrate (approximately 10-20 mins). Carry on burnishing with previous paper used this will generate a “slurry” which should be worked to a consistency of toothpaste.
If needing more slurry to close the pores of the timber or should the slurry become powdery, add more oil ONLY to the surface of the paper being used.
Wipe away excess slurry with paper towel then finish with a clean piece of paper towel under machine (refer to How to Videos). Use 2,3 or more pieces making sure the final piece of paper towel is dry and free of oil prior to moving to 1200grit (Step 4).
STEP 4 Do not apply any more oil! Move to 1200 grit Wet and Dry paper and carry on burnishing (now polishing). Two or three burnishing with new paper may be necessary to bring up the desired finish.
Note: Paper face should at all times remain clean and free from excess oil and slurry.
Finish with paper towel under machine prior to moving to 1500 grit.
STEP 5 If seeking an even higher lustre it is recommended to continue burnishing using 1500/2000 grit papers. Finish with paper towel under machine making sure dry and free of oil
STEP 6 Allow the oiled surface 24-48 hours to cure then power buff with lambs wool pad. Allow 96 hours before using water near finish.